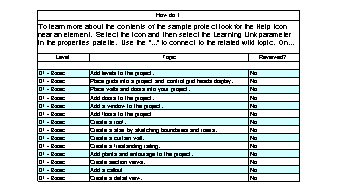
Something long time Revit users have asked for many times. The ability to set alternate rows to display a contrasting color in a schedule. It makes our drawings easier to read and gives more of a – that is a good looking drawing feel. There are some limits however, stripe rows does not apply to panel schedules or graphical schedules. But striped rows are presented in a sheet view so that tools can be created to display striped rows on shop drawings. It will be interesting to see how drafters apply this new tool to their drawings.

To apply stripe rows to a schedule view:
- In the Properties palette Other section, click Edit for any parameter. The Schedule Properties dialog displays.
- In the Schedule Properties dialog, select the Appearance tab.
- In the Graphics section, select Stripe Rows.
- To select the color for the first row, select First Stripe Row Color from the drop-down, then select a color from the color picker.
- To select the color for the second row, select Second Stripe Row Color from the drop-down, then select a color from the color picker. Note: Select first and second row colors that contrast and that are light enough that you can still read the schedule text easily.
- If you would like to display contrasting rows on sheets, leave Show Stripe Rows on Sheets selected. It is selected by default.
- Click OK.
To apply stripe rows to a schedule view template:
- Access the Type Properties for the schedule.
- In the Identity Data section > View Template applied to new views, click < None >. The Assign View Template dialog displays.
- In the View templates section, select Show Views. In the Names: section, select the schedule for which you want to assign a view template.
- In the View properties section, select the Appearance Edit button. The Schedule Properties dialog displays.
- In the Graphics section, select Stripe Rows.
- To select the color for the first row, select First Stripe Row Color from the drop-down, then select a color from the color picker.
- To select the color for the second row, select Second Stripe Row Color from the drop-down, then select a color from the color picker. Note: Select first and second row colors that contrast and that are light enough that you can still read the schedule text easily.
- If you would like to display contrasting rows on sheets, leave Show Stripe Rows on Sheets selected. It is selected by default.
- Click OK.