
Last updated July 28, 2026
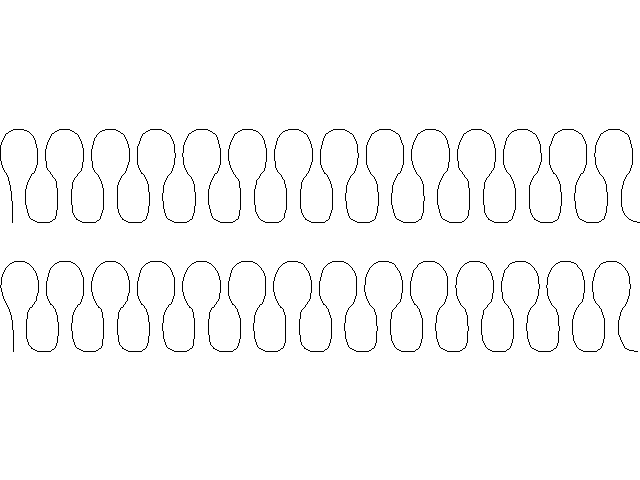
BATT fills a rectangular area with the wavy insulation symbol used on wall and roof sections. You pick two corners, tell it whether the batt runs horizontally or vertically, and it draws the zigzag to fit — sized so the waves come out evenly across the space rather than being cut off partway.
Drawing that symbol by hand is thankless work, and hatching it never quite looks right because the wave has to fit the cavity depth. This does the fitting for you.
Switch object snap off first
The listing says so and it is worth repeating, because it is the difference between a clean result and a mess. The routine works out the wave geometry mathematically and places a long run of points. If running object snaps are on, those points get dragged onto whatever happens to be nearby — the wall lines, the studs, each other — and the wave distorts.
Set OSMODE to 0 before you start, or switch running snaps off with F3. The routine does not do it for you, which is the one thing it should have done and did not.
The direction option
After the two corners it asks for horizontal, vertical or auto, defaulting to auto. Auto is the one to use most of the time: it compares the width of the area you picked against its height and runs the wave along the longer dimension, which is what you want for both a wall cavity and a ceiling.
Force it with H or V when the automatic choice reads wrong — a nearly square area, or a section where the insulation genuinely runs across the short way.
The number of waves is calculated from the area’s proportions rather than fixed, so a deep cavity gets more of them and they stay the same size. That is what makes the output look consistent across a drawing.
Command reference
The file defines a single command, BATT.
The header notes it can be loaded from a menu as-is or called as a function from your acad.lsp, which tells you the author expected it to be wired into a toolbar. It also recommends an AutoLISP memory setting to speed up the wave calculation — a DOS-era concern that means nothing on a modern release, where you can ignore that line.
How to load it
Unzip Batt.zip and load BATT.LSP with APPLOAD, or add it to the Startup Suite. The archive also contains two small text files that are advertising from the Australian bulletin board this was distributed through in the 1990s — the same board that carried the door routine on this site. They are not needed. Our AutoLISP guide covers loading.
Step-by-step usage
- Switch running object snaps off.
- Set the layer you want the insulation on.
- Type BATT. At “Pick lower left corner:” pick one corner of the cavity.
- At “Pick upper right corner:” pick the opposite corner.
- At “H-orizontal, V-ertical, A-uto:” press Enter for auto, or type H or V.
Turn your object snaps back on afterwards.
Compatibility notes
The listing records it as working on AutoCAD 2014, which is more recent than most of this library and a good sign. The memory advice in the header dates the code itself considerably earlier.
Plain AutoLISP with no dialog boxes and no Express Tools calls, so nothing requires the full product; LT users on LT 2024 or later, the release that brought AutoLISP to LT, should be able to run it. See what runs on AutoCAD LT. It only adds geometry, so nothing existing is at risk.
Download
| Name: | BATT |
| Description: | Draws architectural batt insulation. It works better if you set OSMODE to 0 before you start. |
| Type: | AutoCAD AutoLISP Routine |
| Author: | Anon |
| File Size: | 2 Kb |
| Cost: | Free |
| Worked on: | AutoCAD 2014 |
| Download File: | Batt.zip |
Related routines
- WALLS — the cavity the insulation goes in.
- RAFTER — roof framing for a section detail.
- ROUGHEN — another symbol built from a repeating wave.