
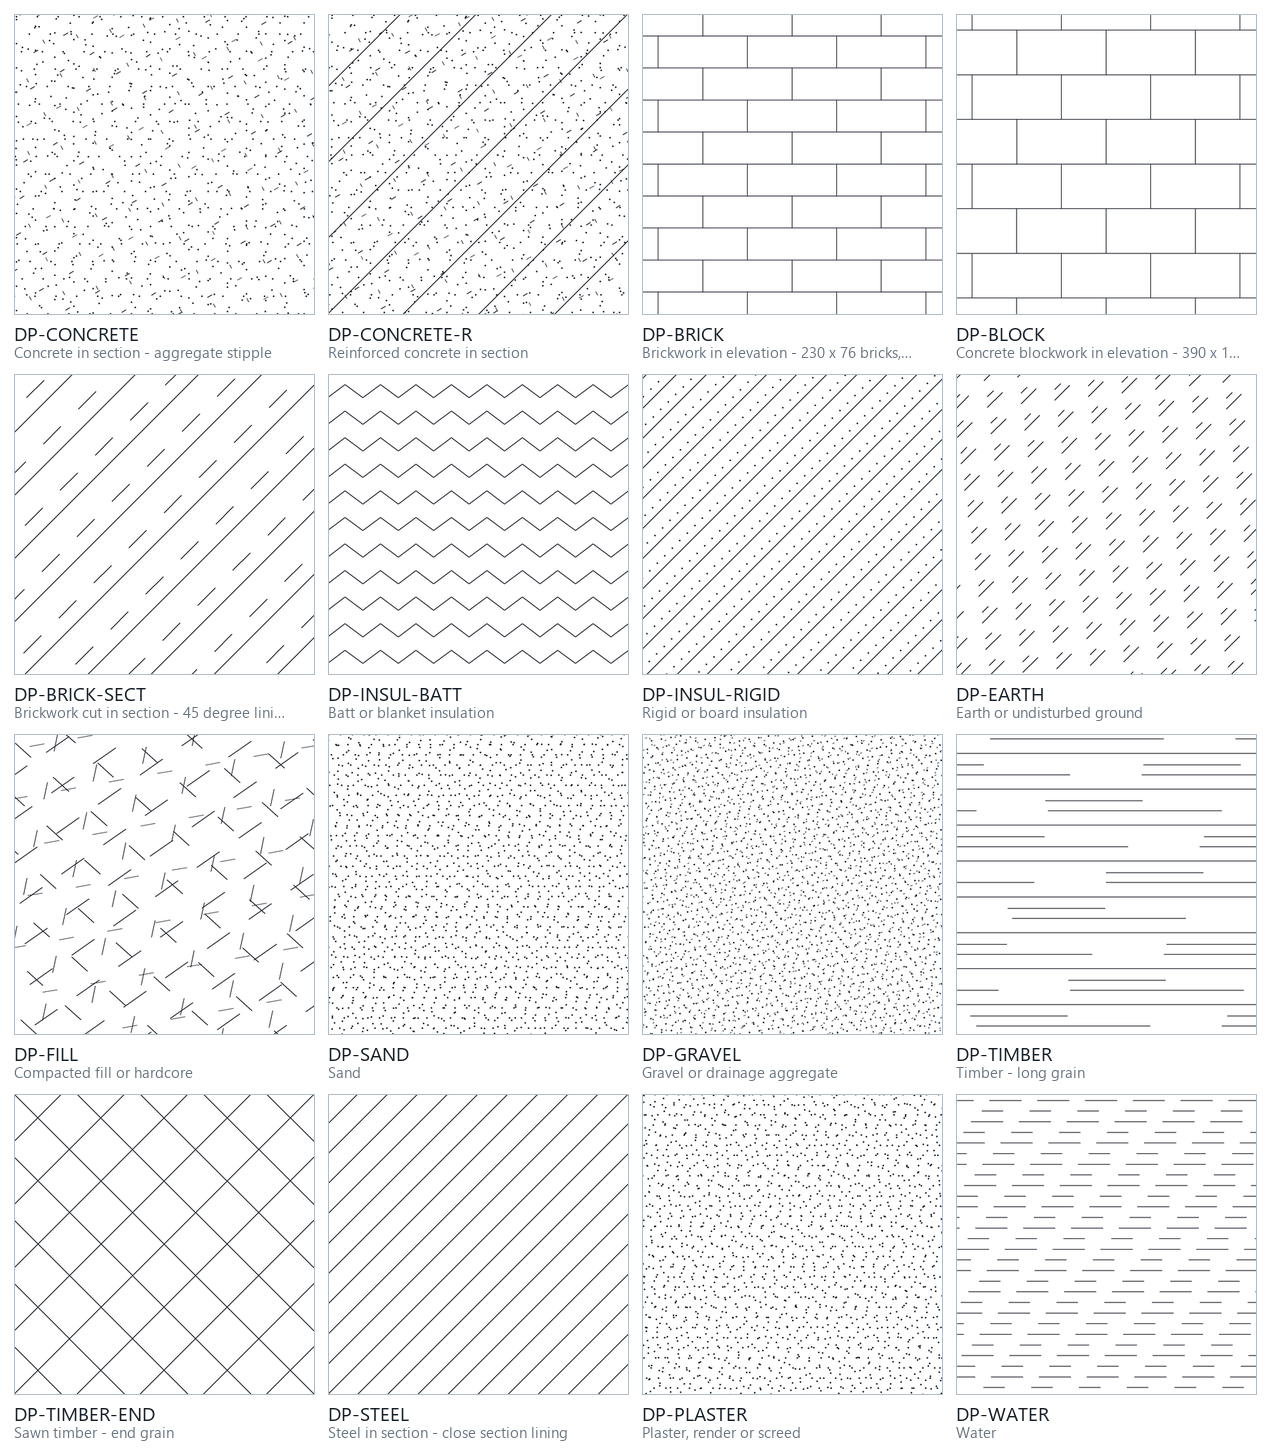
Sixteen hatch patterns for the materials that turn up on a section: concrete, brickwork, blockwork, insulation, earth, fill, sand, gravel, timber, steel, plaster and water. They are original, they are free, and every one of them was drawn from its definition rather than traced.
Download the whole set: draftsperson-materials.pat, all 16 patterns (.zip). Or take them one at a time below.
Why this set exists
This site already hosts over 300 hatch patterns, and almost all of them are decorative or architectural — parquet, roof tiles, stonework, ornament. Useful, but not what you reach for when you are hatching a footing.
The everyday material indications were missing. So these were written from scratch, to sit alongside that library rather than compete with it. Two of them are dimensioned to the real Australian module, which nothing in the standard AutoCAD set is.
Install
There are two ways, and which you want depends on whether you are doing this once or setting up an office standard.
One pattern at a time
- Unzip the pattern you want. You get a single
.patfile, for exampleDP-CONCRETE.pat. - Put it anywhere on your support file search path.
- Start HATCH, set Type to Custom, and pick the pattern by name.
The file name has to match the pattern name for Custom to find it, which is why each download is named after its pattern. Do not rename them.
The whole set, permanently
- Unzip
draftsperson-materials.pat. - Open your
acadiso.pat(oracad.patfor imperial drawings) in a text editor. Back it up first. - Paste the contents onto the end and save.
- All sixteen then appear in the ordinary Predefined list, alphabetically under DP-.
The DP- prefix is deliberate: nothing in AutoCAD’s own set starts with it, so appending these cannot shadow a pattern you already use. It also keeps them together in the list.
A note on scale
DP-BRICK and DP-BLOCK are dimensioned in millimetres. A brick course is 86 mm in the pattern — a 76 mm brick and a 10 mm joint — and a block course is 200 mm. At hatch scale 1 on a drawing in millimetres they come out true size, so the courses in your hatch line up with the courses in the wall you drew.
That is worth knowing because AutoCAD’s own BRICK pattern is a 2:1 module that is not any real brick, so it has to be scaled by eye until it looks about right. These do not.
The other fourteen are unitless textures. Scale them until the density looks right for the drawing — there is no correct value, only a consistent one. Set it once in your template and leave it.
Concrete and masonry
The four that carry most of a set of details.
DP-CONCRETE — Concrete in section – aggregate stipple
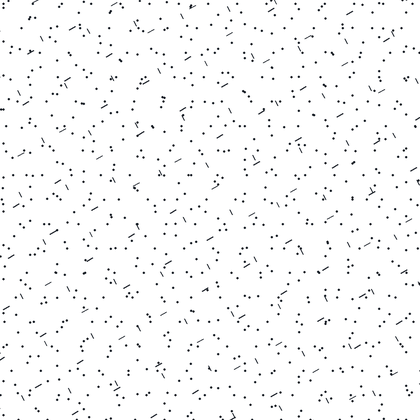
Six line families at deliberately incommensurate spacings, so the stipple never settles into a visible grid the way a single dot family does.
DP-CONCRETE-R — Reinforced concrete in section
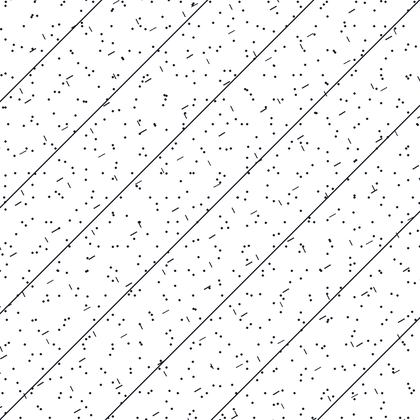
The concrete stipple with 45 degree section lining over it, the usual way of separating reinforced from mass concrete on a drawing.
DP-BRICK — Brickwork in elevation – 230 x 76 bricks, 10 mm joints
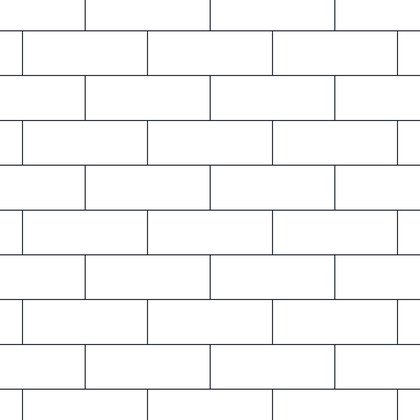
Dimensioned in millimetres to the real Australian brick module, so at hatch scale 1 on a millimetre drawing the courses come out true size. AutoCAD’s own BRICK pattern is a 2:1 module and is not any real brick.
DP-BLOCK — Concrete blockwork in elevation – 390 x 190 blocks
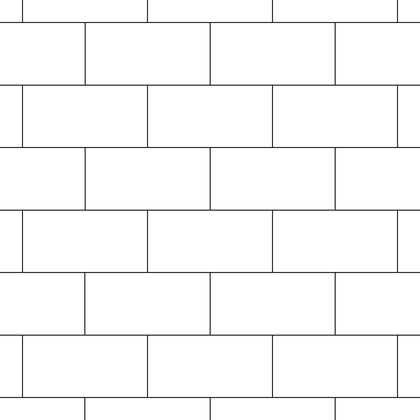
The standard 400 x 200 blockwork module in millimetres, again true size at hatch scale 1.
DP-BRICK-SECT — Brickwork cut in section – 45 degree lining
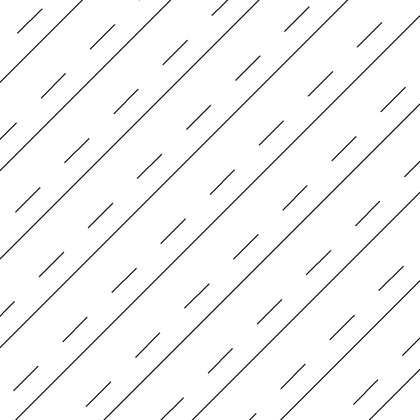
Brick cut in section rather than seen in elevation. This is the coarsest of the four 45 degree patterns in the set, and the dashed line between the continuous ones is what separates it from steel.
Insulation
Two patterns that have to be told apart at 1:50 on a printed detail, which is why one loops and the other does not.
DP-INSUL-BATT — Batt or blanket insulation
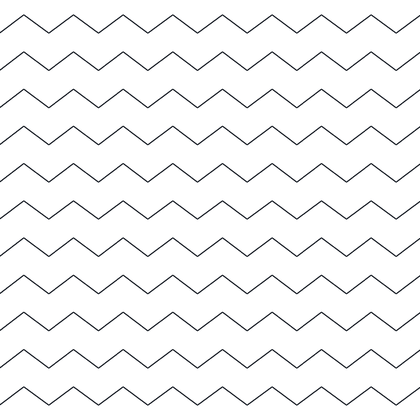
A true continuous zigzag rather than two rows of unconnected ticks. The strokes meet because both families share a dash cycle worked out from the stroke geometry.
DP-INSUL-RIGID — Rigid or board insulation
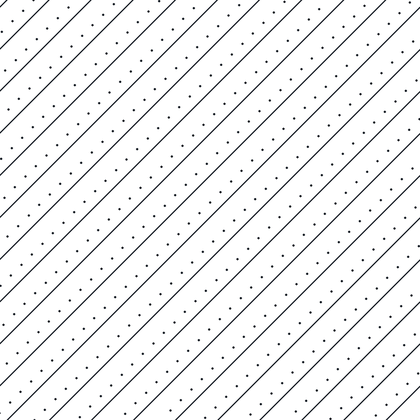
Board insulation: 45 degree lines with a dotted line between them. The dots are what tell it apart from steel lining and from brick in section, which use nothing and a dash respectively.
Download DP-INSUL-RIGID (.zip)
Ground and fill
Undisturbed ground, imported fill and the graded materials between them read differently on a drawing, and they should.
DP-EARTH — Earth or undisturbed ground
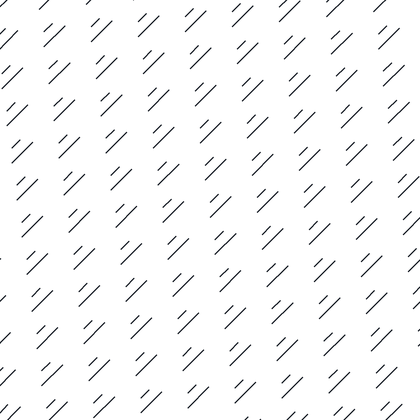
The long-and-short diagonal convention for undisturbed ground, as distinct from fill.
DP-FILL — Compacted fill or hardcore
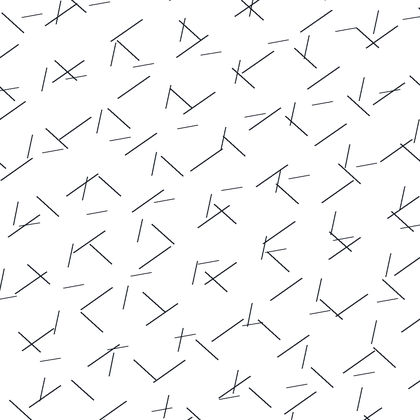
Angular fragments at four unrelated angles – fill reads as broken material rather than the ordered strokes of undisturbed ground.
DP-SAND — Sand
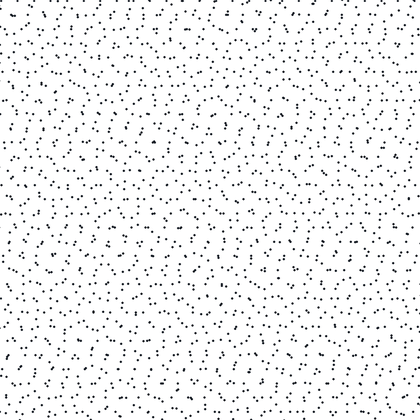
A fine even stipple, deliberately finer than the concrete one so the two do not read the same at small scale.
DP-GRAVEL — Gravel or drainage aggregate
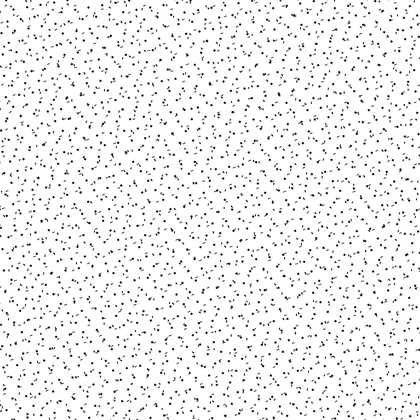
Coarser than sand and with angular pieces among the dots, which is what separates drainage aggregate from bedding sand on a detail.
Timber
Along the grain and across it.
DP-TIMBER — Timber – long grain
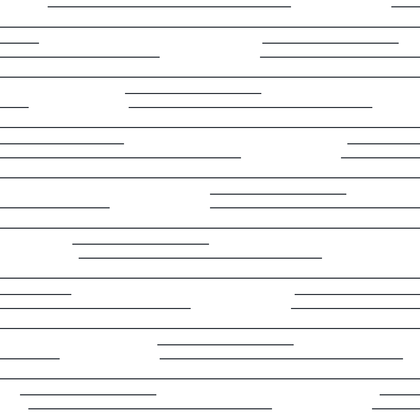
Continuous grain lines with two broken families between them. Each broken family is staggered along its own direction as well, which is what stops the dashes lining up into a visible seam down the hatch.
DP-TIMBER-END — Sawn timber – end grain
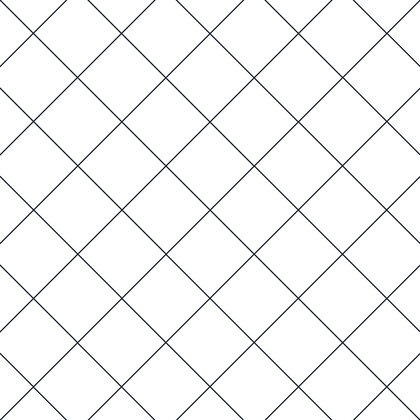
The crossed diagonals used for timber cut across the grain.
Other materials
DP-STEEL — Steel in section – close section lining

Close 45 degree lining. Kept tighter than the brick section pattern so the two are told apart by density, which is how they are read.
DP-PLASTER — Plaster, render or screed
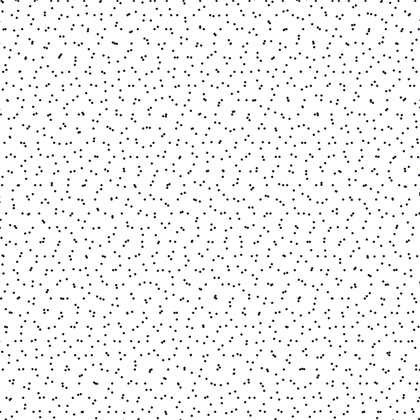
A very fine stipple for thin applied finishes, dense enough to read as a solid tone at drawing scale.
DP-WATER — Water
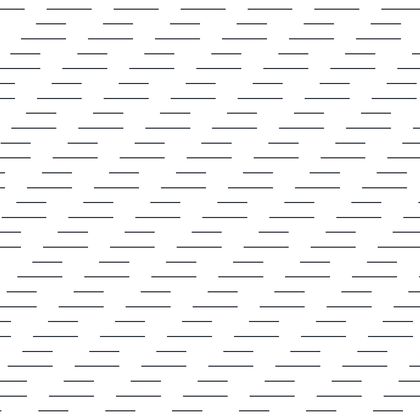
Broken horizontal lines on two offset families, the standard indication for a body of water in section.
How these were made
A .PAT pattern is not a picture. It is a list of families of infinite parallel lines, each with an angle, a spacing, an offset and an optional dash pattern. Everything above is built from that and nothing else — there are no curves in the format, which is why the insulation is a zigzag rather than the looping symbol you would draw by hand.
Two things in the format catch people out, and both are visible in this set.
The stagger is measured along the line, not across the page
Each definition line ends with a delta-x and a delta-y. The delta-y is the perpendicular gap between neighbouring lines, which is the intuitive one. The delta-x shifts each successive line along its own direction — in the rotated frame of that line family, not in world coordinates. Get those two the wrong way round and the pattern still draws, just not the pattern you meant.
Setting the stagger to the dash cycle is the classic mistake
For a stipple, the obvious delta-x is the dot spacing. It is also the worst possible choice: every line then starts at the same point in the cycle, the dots align, and the hatch bands vertically. Look at a lot of published stipple patterns and you can see it.
Stepping by an awkward fraction of the cycle spreads the phases and the banding goes. But if every family uses the same fraction they all drift the same way and you trade vertical bands for diagonal streaks. So in this set each family gets its own step and its own angle, and the drifts cross each other instead of reinforcing. That is the whole trick behind the concrete, sand, gravel and plaster patterns looking random when they are strictly periodic.
References
- Free AutoCAD hatch patterns — 300+ .PAT files with previews — the collected library this set sits alongside
- CAD hatch patterns collection
- Architectural hatch patterns collection
- Brick bond hatch patterns — twelve traditional bonds, for elevations rather than sections
- Standards Australia — AS 1100.301, Technical drawing: Architectural drawing — the Australian standard covering drawing practice for building work